


Most light painting is done on a black background and this is for a good reason. A camera sensor’s pixel starts at black and only ever adds towards white and once your sensor registers white then nothing else you paint into the picture will show up. This can be a challenge but it can also be an opportunity. This page will describe two different approaches to light painting on a white background. I didn't invent "shooting on white" but I'm happy to document it. Shoutout to Tim Gamble for doing some work in this vein as well and a shoutout to Aurora Crowley for giving me the inspiration to break out of the black!
The First Technique
This technique should be available to most of us. It takes a bit more time to execute but it takes less equipment. You also have complete control over your various degrees of white across the picture.
Find a light-colored wall in a dark room. Put your model in front of the wall and illuminate the wall behind them, being careful to not light up the front of your model. You’re likely to get a little bit of cast-off light around the sides of your model but that actually helps them fit into the picture more naturally.
Once you’ve lit up the wall you’ll be left with the negative space of the model’s silhouette; now you have a human-shaped canvas!!
Light up your model as you see fit, or have them step out and just wave lights in the area that wasn’t exposed on the wall. When your lights slide off the model and into the area you have already lit up as white that light won’t show up because once you go white you can’t ever make it anything other than white. If your background isn’t pure white then it can make for an interesting background texture and the lights may show as they leave that silhouette.

Above: Cat Frippone by Dan Chick

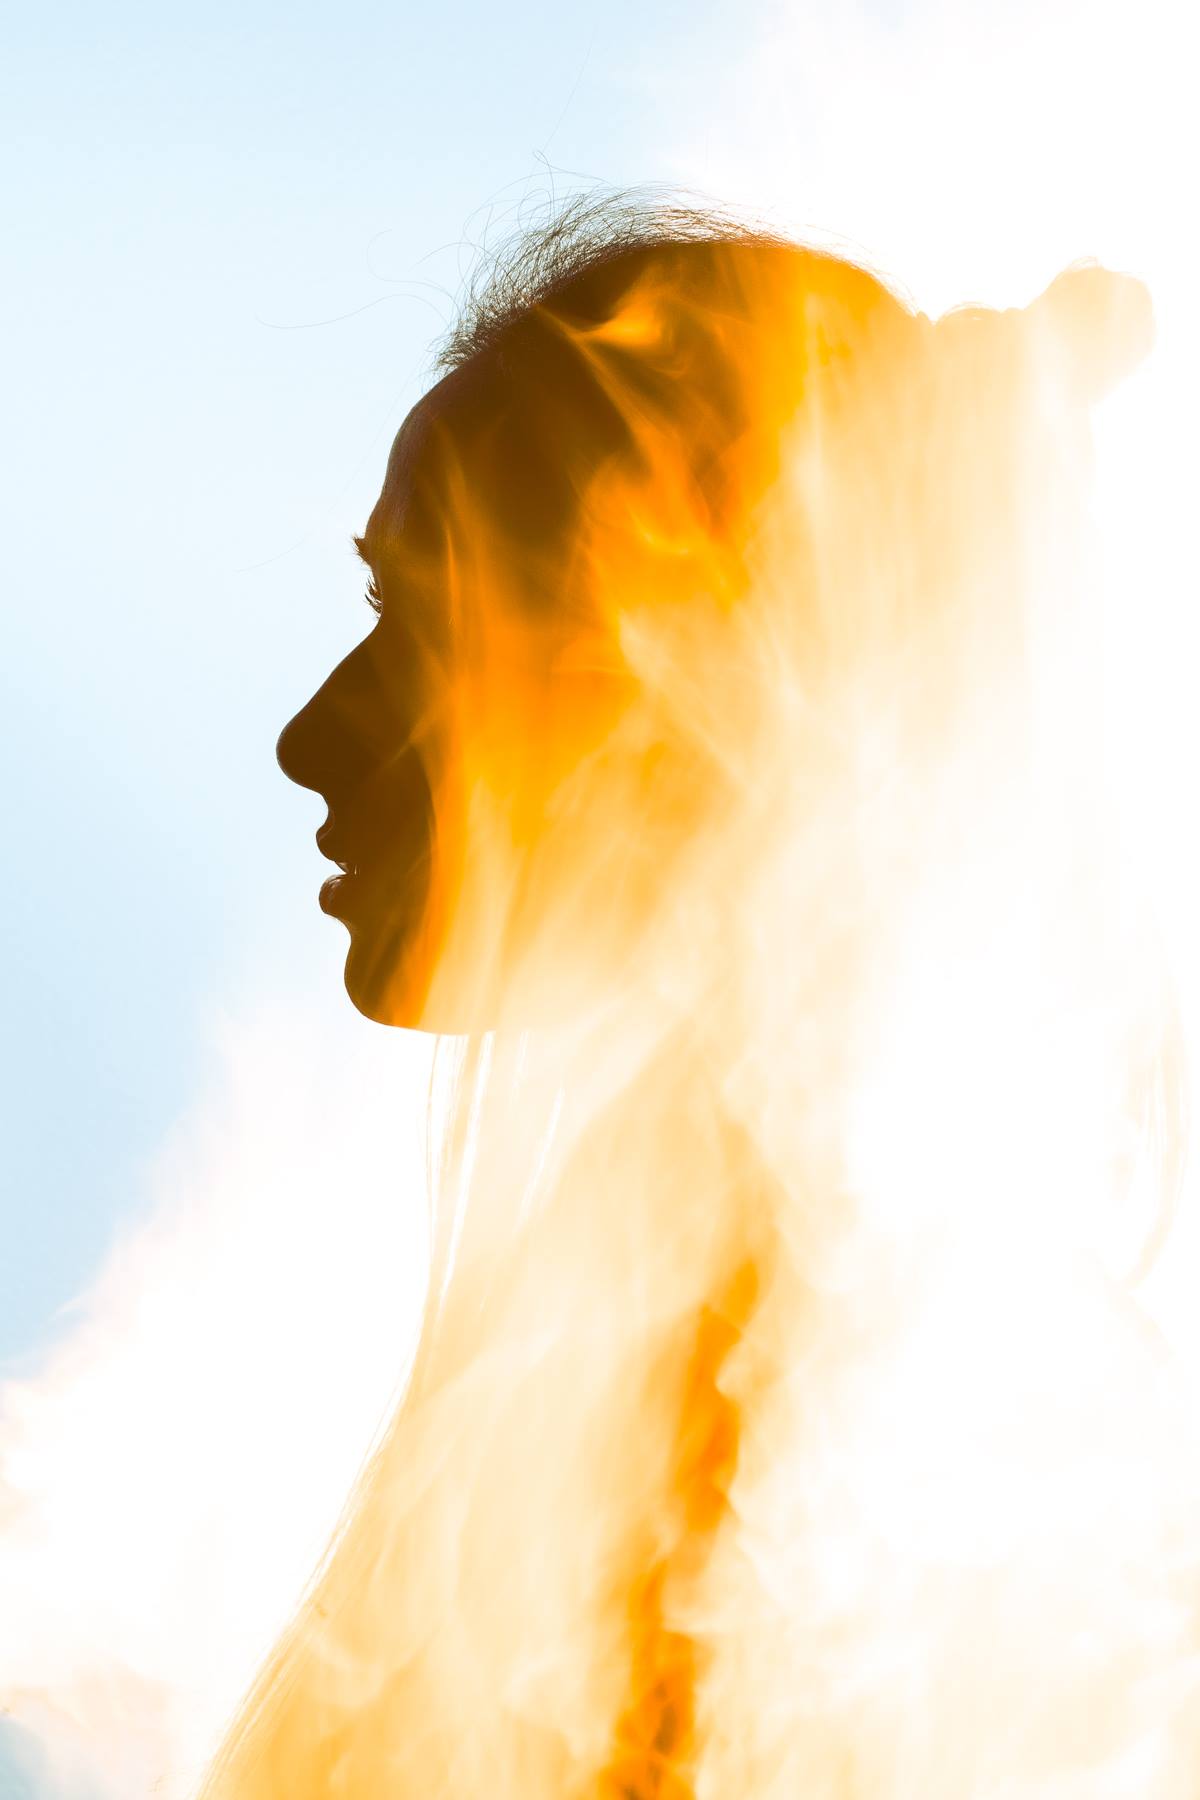
Above: Mar by Dan Chick

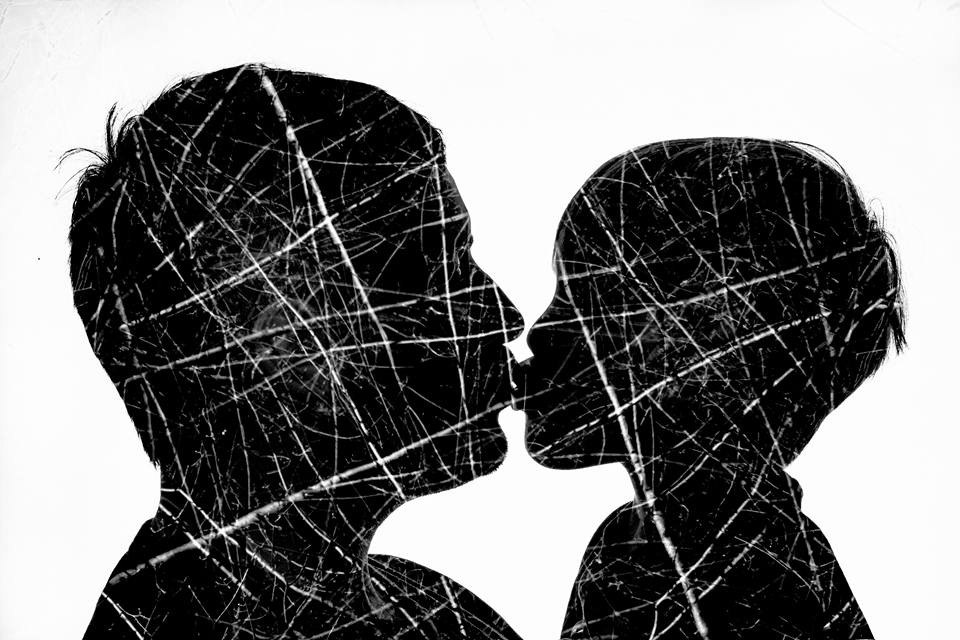
Above: Tilotkilla by Dan Chick

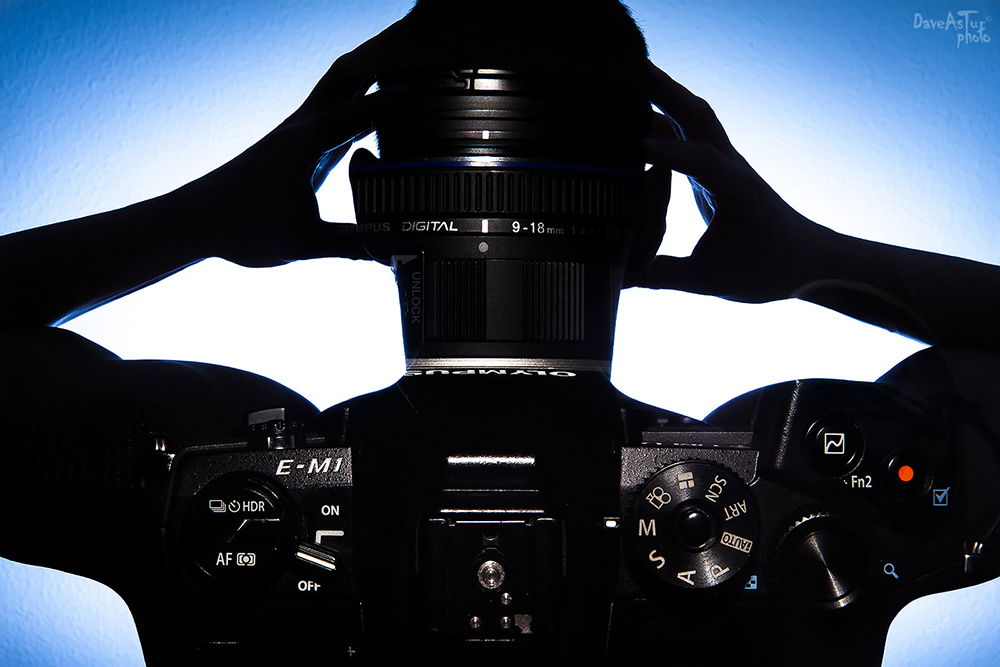
Above: Self Portrait by Dan Chick

Above: Minx by Dan Chick
The Second Technique
The other technique results in a much more pure white background. Put your model in front of a large soft box. Pop the flash behind them and you will have a uniform white with really crisp edges on the silhouette. The brighter the flash, the more you’ll also get some light onto your model. Props to Jason Page for the idea.
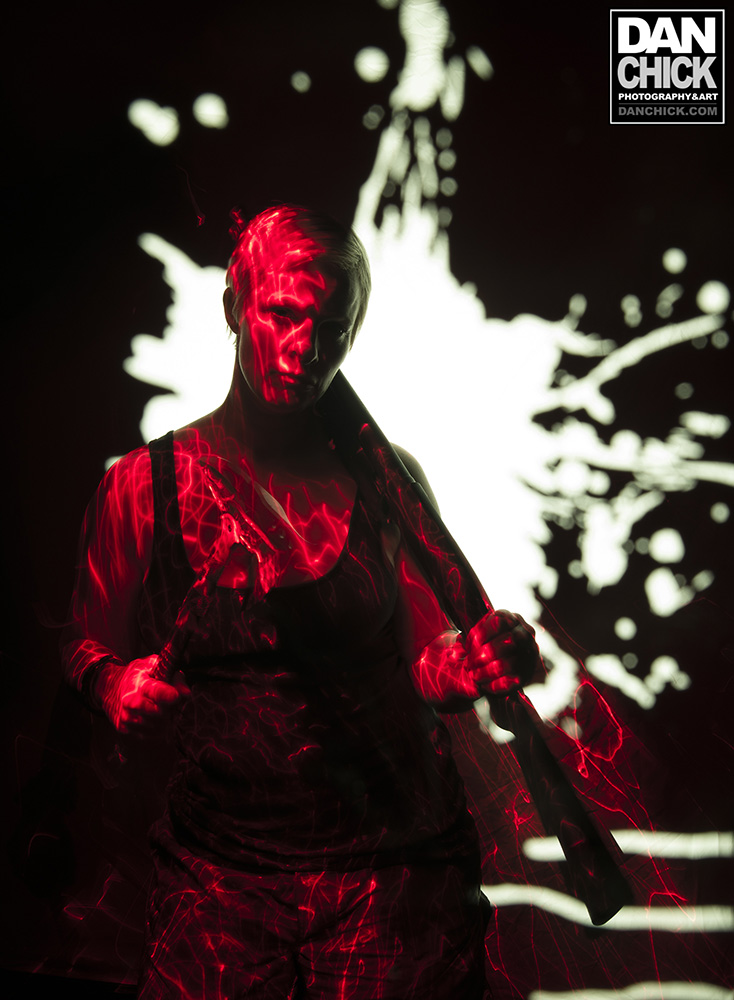
This is an example of a shot with Kaitie Amen where we lit her from behind with a six foot tall softbox and then colored her with red lasers :)

Above: Kaitie Amen by Dan Chick
Pro Tips!
- Although it won't be as pure white as a softbox you can make your own by hanging a large white sheet. Set up some flashes to point at the sheet (probably from behind, but you can also do it from the front) and you have a makeshift softbox! (2022 edit after working with Erin Simmons)
- Try putting a color filter on your lens to create a different colored background! With the soft box approach you may need to drop your light power down significantly for it to register how you want it to.
- Try putting a stencil in front of your model and removing it after you expose the background. Then light your model up and you'll have a fancy shape behind them!
- The brighter the background is the more your lights will disappear into it when the edge of your silhouette is reached. You might not always want this, be creative!
Above: Tilotkilla, through a green filter, by Dan Chick
Heidi, backlight shot through a stencil, stencil removed, Heidi lit. By Dan Chick